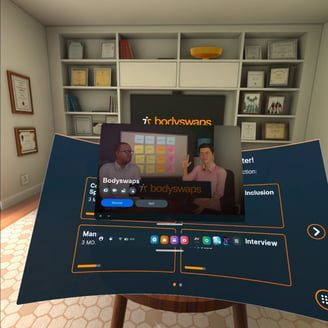
Bodyswaps & Meta Quest
How to set up your Meta Quest headset
Power on
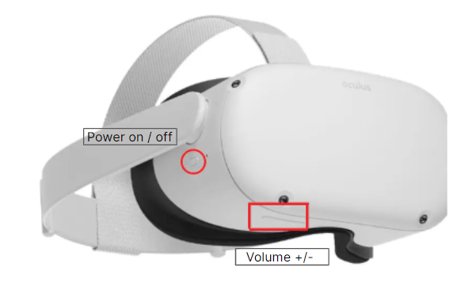
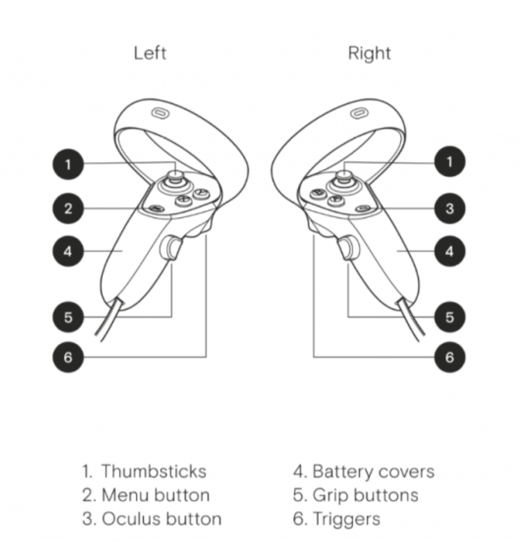
To turn on the Quest, hold down the power button for 3 seconds. You will feel the controllers buzz once on.
Headset
Place the headset on your head. Adjust the straps as needed. You can also adjust the lenses (IPD) by gently pushing them together or apart.
Set boundary
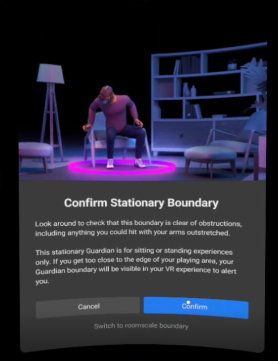
We recommend that you use the Stationary Boundary when completing Bodyswaps modules. Look around to check that the boundary is correctly positioned and clear of any obstructions. Select Confirm with the trigger, A or X button on the controller. If the boundary needs to change, select Change.
Confirm the floor level by lining up the grid with the floor. Move the grid by moving the thumb stick or touching the floor with your controller. Click Confirm. Select Switch to Stationary Boundary. Confirm Stationary boundary - look around and make sure there is nothing you can hit with your arms or less. Select Confirm.
App library
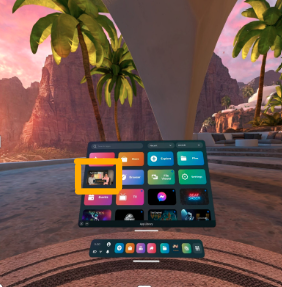
Select the App Library icon in the bottom menu bar. It appears as a gray box with 9 dots.

Bodyswaps app
Select the Bodyswaps App and enter your access code from your Bodyswaps Go account to access the content.
How to navigate inside Bodyswaps
Press/select UI buttons
In Bodyswaps, you interact with the user interface by bringing your hand to it, the way you call an elevator in real life.
Pause or exit a module
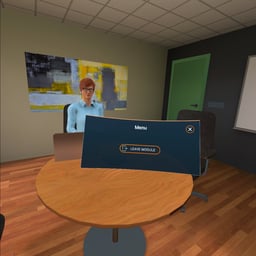
Press the Menu Button , on the left hand-held controller, to access the menu while in the module. This effectively pauses the experiences.
- Select Leave Module to exit.
- Select the X in the top right-hand corner when you are ready to continue.
Learning journal and checkpoints
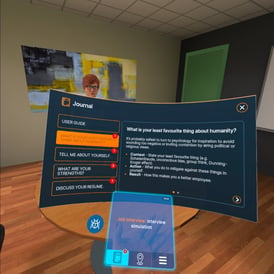
You can access learning notes, jump between checkpoints or report a bug by turning your left palm towards you when you’re in a module.
Reset your position
Please feel free to remove your headset at any time if you need to take a break or adjust your position (from sitting to standing, for example) or to make notes if you wish to do so.
If you find that your position within the simulation has changed when you put the headset back on, you can reset it by pressing down on the /
button on the righthand controller.
Change settings
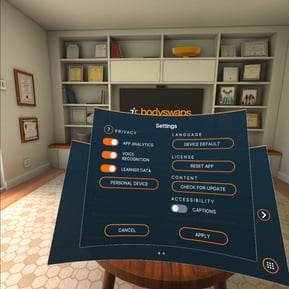
To change your settings, you must return to the Virtual Training Center (lobby). Once back in the Virtual Training Centre press the Menu Button on the left hand-held controller and select Settings.
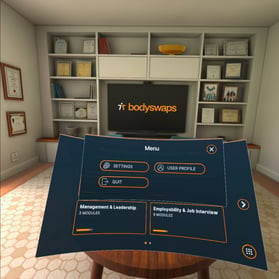
This allows you to control features like:
- App analytics
- Voice recognition
- Learner data
- Shared device (Personal Device, Shared Device 1 & Shared Device 2)
- Language (French or English)
- Checking for Updates
- Turning on Closed Captions (subtitles)
Ensure to select 'APPLY' to make changes to the device.
User profile
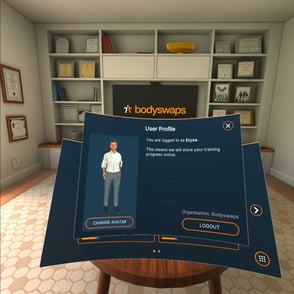
To change your avatar or log out, you must return to the Virtual Training Centre (lobby). Once back in the Virtual Training Centre, press the Menu Button on the left hand-held controller and select User Profile.
Log out
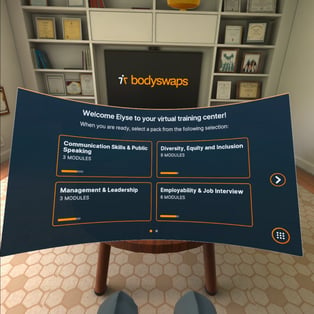
You can either log out via the User Profile (refer to the above instructions) or by selecting the 9-dot circle in the bottom right corner when in the Virtual Training Center. If multiple learners are using a device, you will want to ensure to log out and re-enter the new learner's 6-digit code.
Quit
To quit the Bodyswaps app, press the /
button on your right hand-held controller, then select Quit from the Oculus menu.
