We currently support SSO integration with SAML - once this is set up, you will get an organisational code used for SSO login. Please note: SSO does not include class users.
Jump straight to:
Set Up
- After receiving your SSO set up request, we will send you a Reply URL and your Entity ID.
- You will then need to follow the steps outlined below and send to us your:
- Certificate(Base64) file or extracted code
- Login/SSO URL
- Provider Entity Id (Azure - Entra ID)
Normally, you can set this up within your SSO Provider, below is a video walkthrough of what this looks like within Azure.
Video Walkthrough
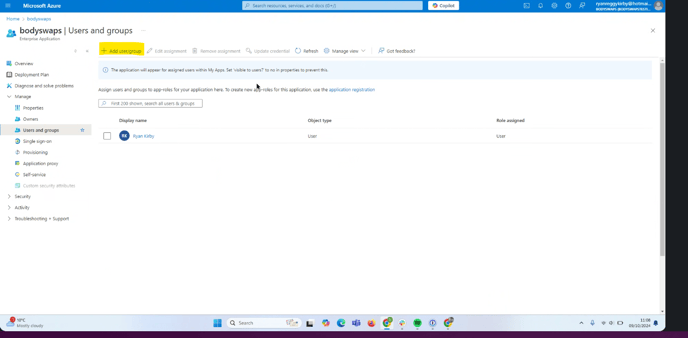
3. Once we have received the above and set up your integration, you may have an option in your SSO provider to test the connection. In Azure, you can do this by adding yourself as a user (to do this, navigate to Users and Groups > Add user/group).
If the test is successful, you will see a green tick and message confirming that the Entra ID has successfully issued a token to the application. This is also covered in the video above.
4. We will now send you your Organisation Code.
If your institution does not use Azure and these instructions do not match your SSO provider's system, please reach out to support@bodyswaps.co and we will support you with this process.
Once the integration is set up and we've officially enabled SSO on your account (pending successful testing), any user that you want to be able to sign in to Bodyswaps on your account via SSO must:
- have been added to your Bodyswaps Go account (via the User tab, added by account Admins)
- be added either as an individual or included in a group that has been given access to Bodyswaps as shown in the image below:
Signing in with SSO
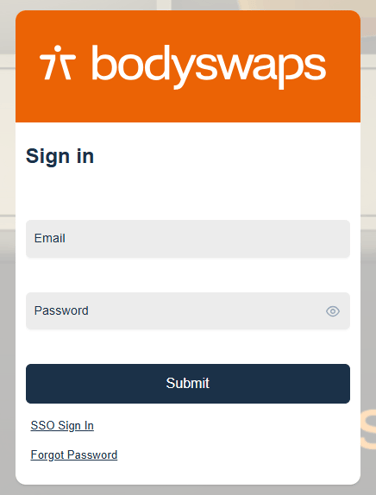
After setting up SSO on your account, ALL registered users must sign in with the SSO SIGN IN button (next to LET'S GO!), instead of the Username and Password option.
This does not include Class users - they can still self enrol without needing to sign in to Bodyswaps Go.
The user will be prompted to enter your Organisation Code, and this would then trigger the SSO sign in process.
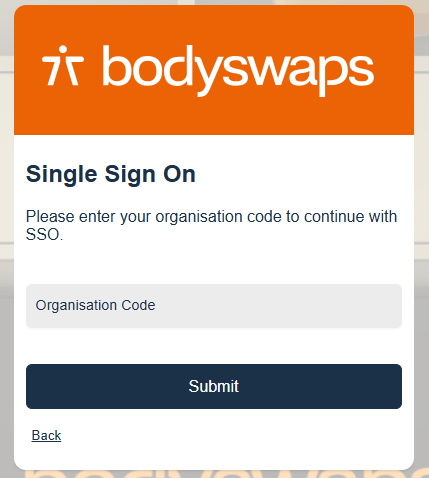
A pop-up will then appear with your institution's sign in page and the user can enter their details to access Bodyswaps Go.
Please note that you will need to communicate your Organisation Code to your Bodyswaps users.
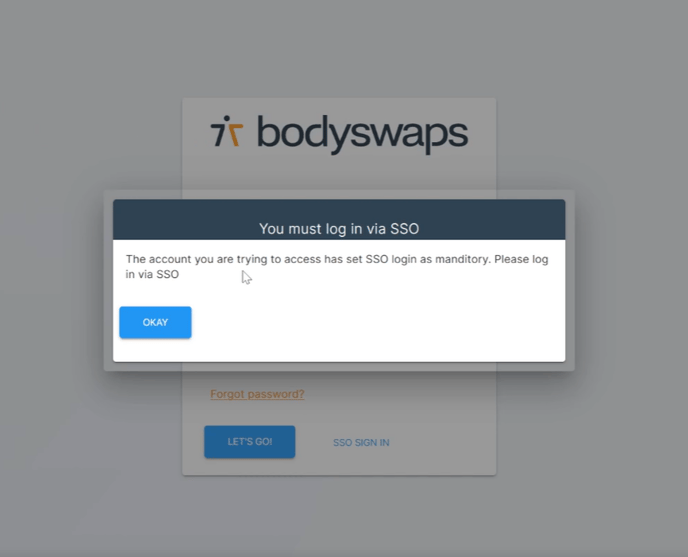
If a user on an account with SSO only attempts to sign in with their Username and Password instead of SSO, they will received the below error message.
When you add new users to the account, they'll receive this email instead of the standard password setting invite:
.png?width=529&height=655&name=image%20(63).png)
Error Messages
"User was not found when trying to log in with SSO email <email>. Please ask an Admin to add you to the correct account."
This occurs when a user has not been created in Bodyswaps Go prior to signing into SSO.
This can also happen, for example if a user's login credentials are cached on the browser from a previous login, the email displayed may be the email of the previous logged in user.
A general authentication issue that’s preventing the user from logging in - please let us know the message passed here by contacting support@bodyswaps.co.
"Authentication Error. Ensure you are using the correct code, or contact support as the desired account does not exist."
This can occur when the wrong sso organisation code has been entered into the login window.
If you don't know your SSO Organisation Code, please contact your account admin or support@bodyswaps.co (stating the name of your institution/organisation)